UML (Unified Modeling Language) is the general-purpose modeling language used to visualize the system. It is a graphical language that is standard to the software industry for specifying, visualizing, constructing, and documenting the artifacts of the software systems, as well as for business modeling.
UML Class Diagrams are the main building blocks of every object-oriented method. The class diagram can be used to show the classes, relationships, interface, association, and collaboration. UML is standardized in class diagrams. Since classes are the building block of an application that is based on OOPs, so as the class diagram has an appropriate structure to represent the classes, inheritance, relationships, and everything that OOPs have in their context. It describes various kinds of objects and the static relationship between them.
When working with diagrams, utilize the diagram editor’s context menu to accomplish various activities. You can see class members, add new ones, remove old ones, see implementations, check parent classes, conduct basic refactoring, add notes, and so on. If you want to include a class UML in your Android Project then follow the below steps mentioned in this article to get going…
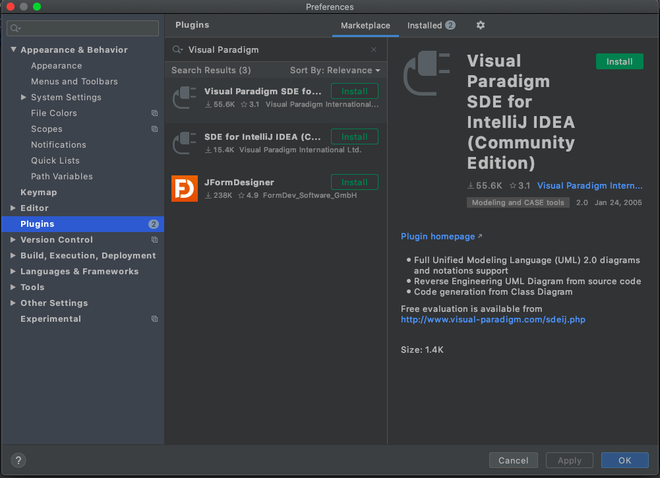
Android Studio has a great plugin that can help you get crisp UML diagrams directly in your Android Project and manage that too in in-studio itself! Adding it is simple, and great, just follow the steps below!
Figure 1. Adding the Visual Paradigm SDE.
And the UML is generated in just a matter of seconds!
Ever played UNO? Well, this method is similar to reverse card, you create a UML first and then import it simply to Android Studio and add it to your project
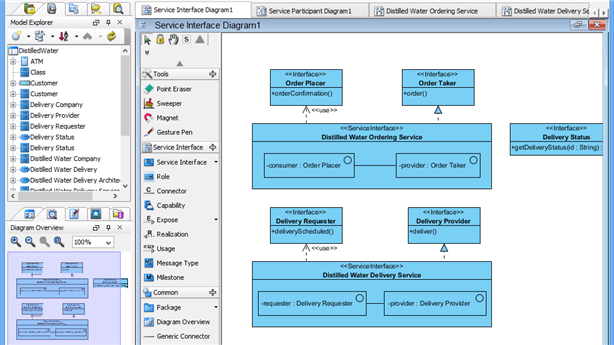
Figure 2. Creating the Project in Visual Paradigm First
Select whether you want the packages included in the class diagram or only the project’s class diagram to appear on your screen, and then adjust it as needed.
Just like the title of this method speaks for itself, creating UML this way is demandingly easy, you just need to be having Visual Paradigm installed in your Android Studio Path, and then just follow the below steps:
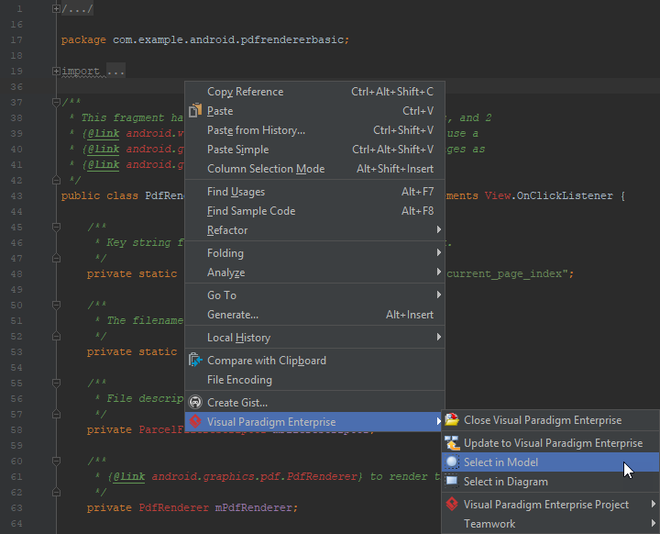
Figure 3. The easiest way out there.
If you are not able to see the online marketplace which is mentioned above in step #1 then, this is a workaround, you need to download the plugin to your system offline, then simply install it by the methods given below
Those who wish to utilize simpleUML with Android Studio but are having trouble getting it to run.
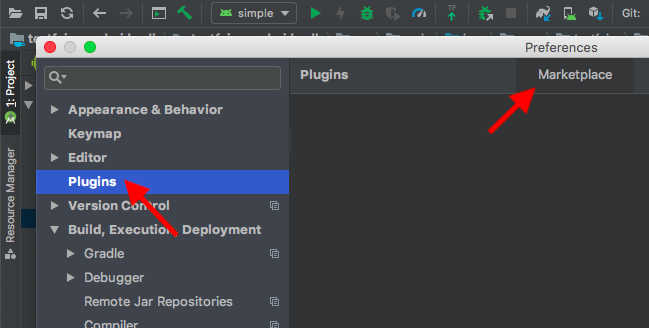
Figure 4. Opening Plugins
Well, this article even backs you up if you are using Kotlin and although this Kotlin state machine library does not connect with Android Studio, it is simple to visualize state machine structure on the PlantUML website.
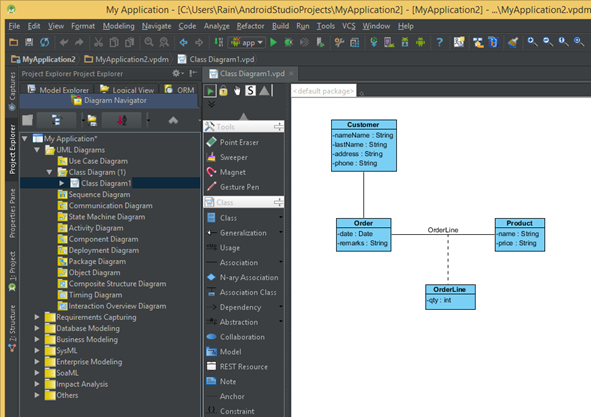
Figure 5. Generating the UML Diagram.
So these were all the methods that would get you to achieve creating the UML in your Android Studio’s Project and get your project flow going!